Are you selecting the same Item on loads all or most of the time? Do you have customers that are always charged using the same Item, or even the same rate, all or most of the time? Sales Profiles speed up the Booking entry process by importing Items and even default charges for any Customer or Equipment Class. A Sales Profile can be created at the Company level to be imported on any Order.
STEP 1: OPEN THE SALES PROFILE SETUP WIZARD
From the Main Menu, select Tools | Sales Profile Setup. From here, you can create Sales Profiles for a particular Customer, a particular Equipment Class, or for every Order.

STEP 2: WORK YOUR WAY THROUGH THE WIZARD
Select the type of Sales Profile, and then the Customer, Equipment Class, or Company you are creating it for. When you get to the Select Item window, select the charge Item from the drop down. Change any default values if necessary, or leave the Quantity or Rate blank if you only want the Item to import on a Booking, but you still want to fill out the values manually. Click Next. Click Insert Sales Profile on the final window.

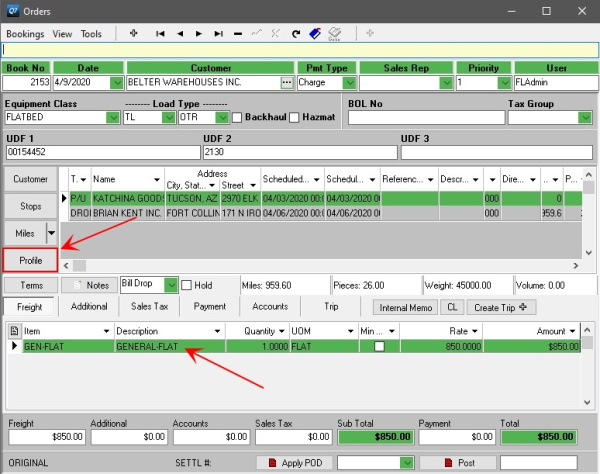
STEP 3: IMPORT YOUR SALES PROFILES ON ORDERS
In the Orders program, click the Profile button to import Sales Profiles. If the Customer or Equipment Class assigned to the Order has one or more Sales Profile Items, the profile will be imported. If you’ve created a Sales Profile on the Company level, it will be imported on all Orders.
THAT’S IT, YOU’RE DONE!
Default charges have been added to the Order, saving you time and preventing mistakes. Use the Sales Profile for any Orders going forward. Search for Sales Profiles in the Knowledge Base for detailed instructions on Sales Profile set up and usage.